
You can update firmware directly from the Account Management page, using your phone or iPad. However, you can't update your units while a workout is in progress.
😎Anyone can run firmware updates; it doesn’t have to be an admin. Coaches, swimmers, or team admins can all update units at any time, either before or after units are activated or assigned.
Quick Navigation
Use the links below to quickly jump to the section you need. Whether you're checking if your units need an update or looking for step-by-step instructions to run it from your mobile device, we've got you covered.
When You’ll See Firmware Updates
Firmware updates only show up when:
-
You’re on a mobile phone or iPad (Bluetooth must be on).
-
At least one unit you own needs an update.
You’ll see:
-
An❗exclamation mark icon beside any unit that needs a firmware update.
-
An “Update” button at the top of your list of units (this only shows if there's something to update).

.png?width=360&height=270&name=Updating%20firmware%20on%20iPad%20(1).png)
⚠️These options are only visible on devices that support Bluetooth, so you won’t see them on desktop.
How to Update Firmware (Phone or iPad)
Updating firmware is quick and easy. Here's how:
- Open the TritonWear app on your compatible phone or iPad. Ensure you have a stable internet connection and Bluetooth is enabled.
- Tap the Triton unit icon
 on the blue menu bar to access your Account Management page.
 - Scroll to see your list of Triton Units. If a unit shows a red ❗icon, it means the firmware needs an update.
- Turn on any units that need updating, and stay near them with Bluetooth on.
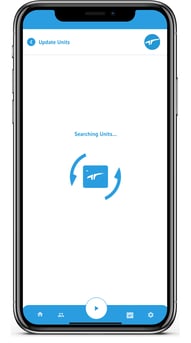
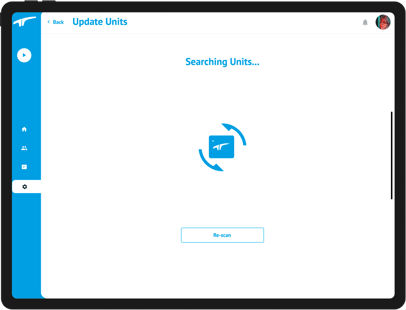
- Tap the ''Update'' button at the top of the unit list. This will launch the scanner, which will search for any nearby units that require an update.
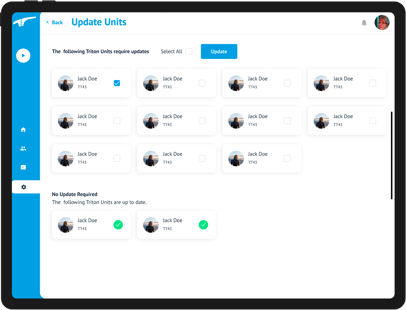
6. Once the scan is complete:
-
- You will see a list of all the units found.
- Select the units you want to update or check the box for "select all".
- Tap Update to start the process.

7. During the update:
-
- The unit light will change from blue to blinking purple while it updates.
- Around the halfway point, you might briefly see a red flash; this is totally normal.
-
Once the update is complete, the light will turn back to blue and you’ll see a big checkmark on your screen.
-
If you selected multiple units, they’ll update one at a time automatically.


When all updates are complete, tap “Finish” to return to your Account Management page.
That’s it, your units are now up to date and ready to go!
🤓 Updates usually take just a minute or two per unit. Keep the app open and your screen active until everything is done.
Troubleshooting Tips
-
If the unit you turned on doesn’t appear after scanning:
-
Force it into update mode: Press and hold the power button until the light turns purple, then rescan.
-
-
If the update doesn’t start or you don’t see the progress bar:
-
Force close the app (see iOS instructions or Android instructions), then reopen it and try again.
-
-
Always stay on the update screen until all units have finished. Leaving early or allowing the screen to go to sleep may interrupt the process.